Start small, learn the right tools, and ship a single polished scene — that approach will get you farther than a big budget. The global virtual reality market was estimated at $5.1 billion in 2023 (source: Statista), and companies across gaming, retail, healthcare, and education are using immersive content to reach users in new ways.
You don’t need Hollywood resources to begin virtual reality content creation. What accelerates progress is focused practice on one format (360 video or interactive 3D), basic familiarity with a game engine or modeling tool, and a short project-based plan that practices design, technical, and user-testing skills.
What you’ll learn in this guide: pragmatic steps for planning a VR project, the core tools and platforms to start with, and performance-minded production habits that reduce rework and improve user comfort.
Understanding Virtual Reality Content
Immersive content shifts control from a director to the person wearing the headset, so creators must design for exploration and user agency instead of fixed camera cuts.
What Is VR Content?
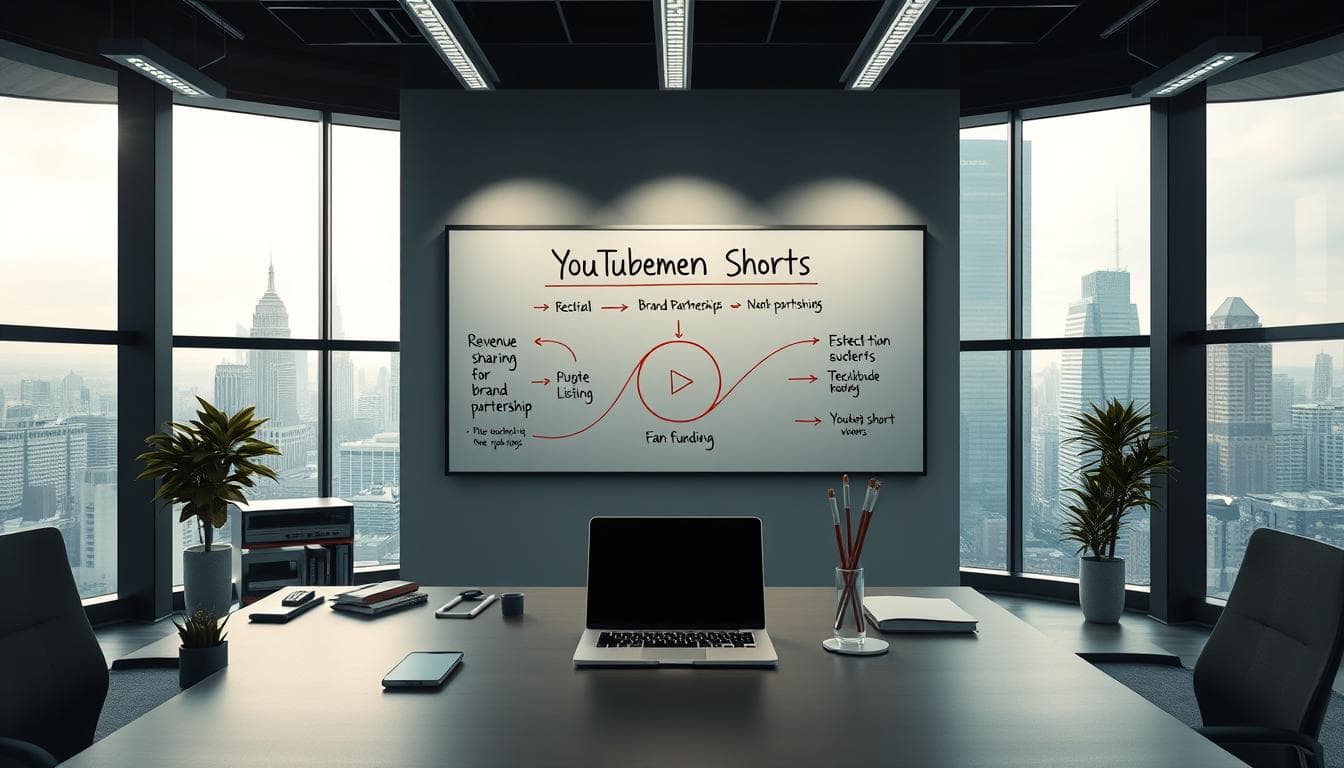
VR content includes any object, scene, or interactive system built for immersive environments — from a single 3D golf club to a whole virtual world. Assets can be passive (a stitched 360-degree video) or interactive (a fully programmed scene inside a game engine), and both count as valid content formats.
Example: the British Museum’s 360° virtual tours let people view exhibits passively, while programs like Osso VR provide interactive surgical training that users perform repeatedly for skills practice (Osso VR is used by hospitals for surgical training).
Types of Immersive and Interactive Experiences
There are two practical categories: passive experiences and interactive experiences. Passive formats (360 video, photographic tours) often require less development time because shooting and stitching scale linearly — see a B&H guide on 360 production for typical timelines and workflows. Interactive 3D experiences involve asset creation, animation, and programming, which raises development effort but usually produces stronger engagement and better learning outcomes for procedural tasks.
Practical tip: beginners often choose one focus—either passive video or interactive 3D—so they can build a portfolio quickly. Remember that user control changes storytelling: guide attention with spatial audio, lighting, and staged interactions rather than relying on cuts or voiceover alone.
Essential Steps in Virtual Reality Content Creation
Break your project into clear phases so each step adds measurable value and avoids expensive rework later. A simple pipeline keeps scope tight and helps you practice the specific skills needed for each stage of development.
Concept Development and Storytelling
Start by mapping the user’s journey with a flowchart that lists decision points, possible interactions, and success/failure states. Storytelling in VR must guide attention through spatial audio, lighting, and environmental staging because users control their viewpoint; design each scene so the intended action is discoverable without explicit prompts.
Example: “Plan a 2‑minute training scene” — define the objective, sketch the scene layout, list the interactive objects, and note the audio cues and lighting that will direct attention.
Video resource: Example: “Designing for VR — Attention and Audio” — YouTube (use this to see how spatial audio guides focus).
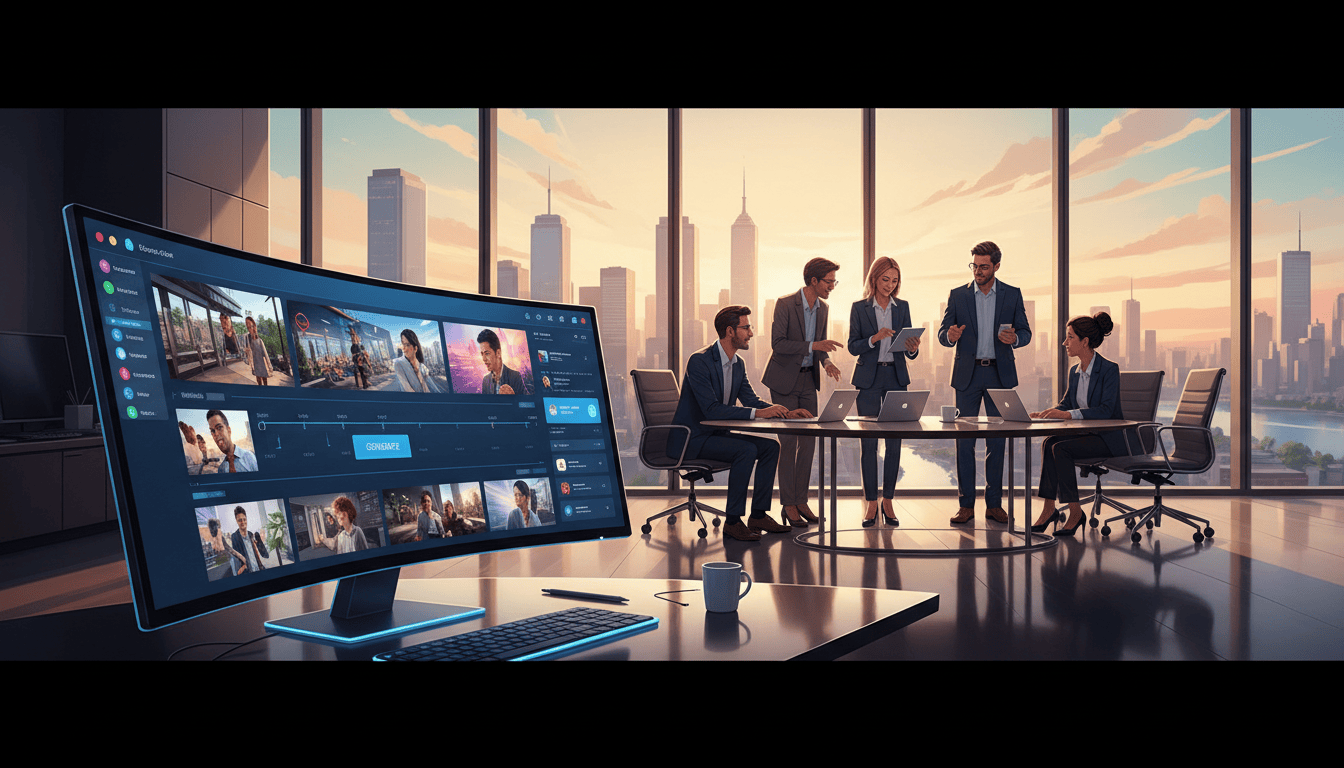
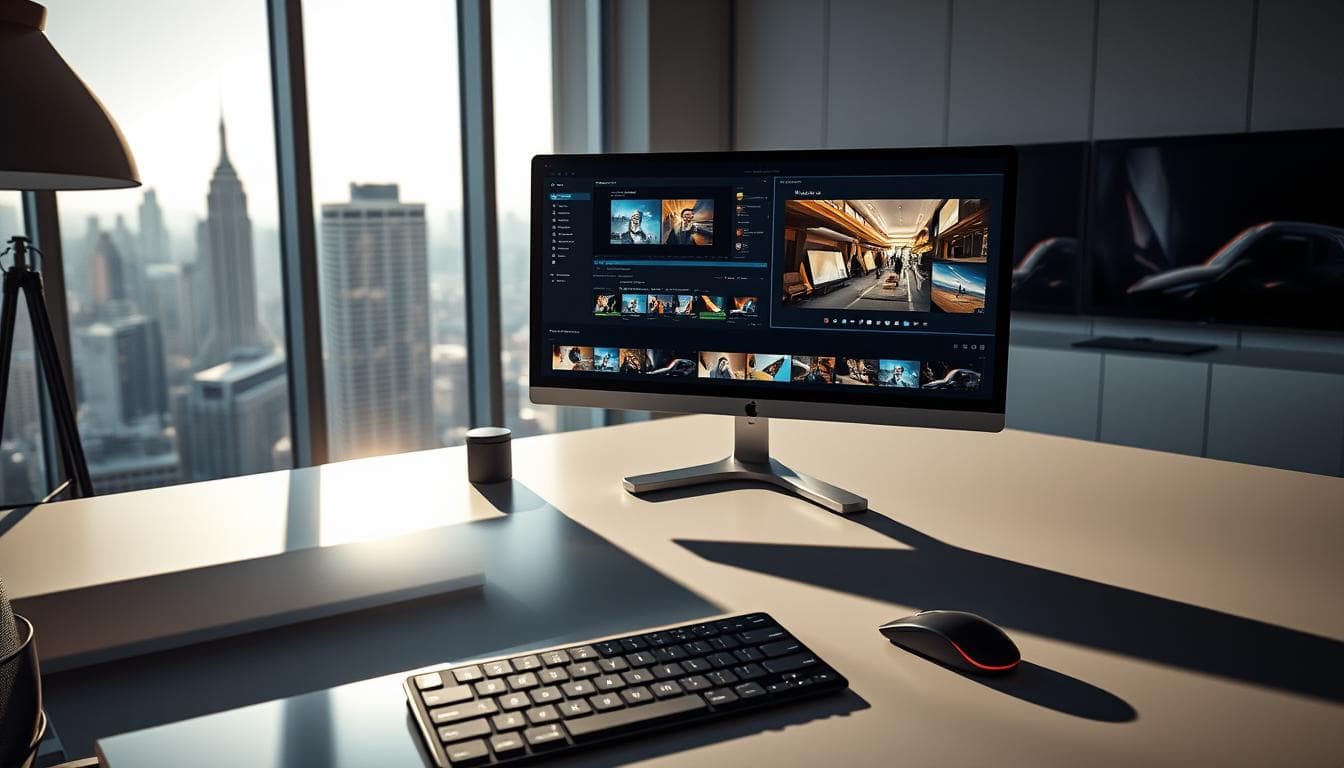
Step-by-Step Production Process
The production workflow depends on format. For 360 video, typical steps are: film with an omnidirectional camera, stitch footage, color grade, and edit for smooth transitions. For interactive 3D, the pipeline usually includes engine setup, import of assets, programming interactions, and playtesting on the target headset.
Asset development commonly follows five stages: concept definition, 3D sculpting, UV mapping, baking and texturing, then final lighting. Unity’s optimization guides recommend baking lighting and atlasing textures to reduce draw calls and improve runtime performance (see Unity docs on optimization).
Two verification steps to catch problems early: (1) walk the full user journey on paper or a whiteboard to find logical gaps; (2) build an in-engine prototype of the core interaction and test it in headset to validate scale and comfort before finishing art assets.
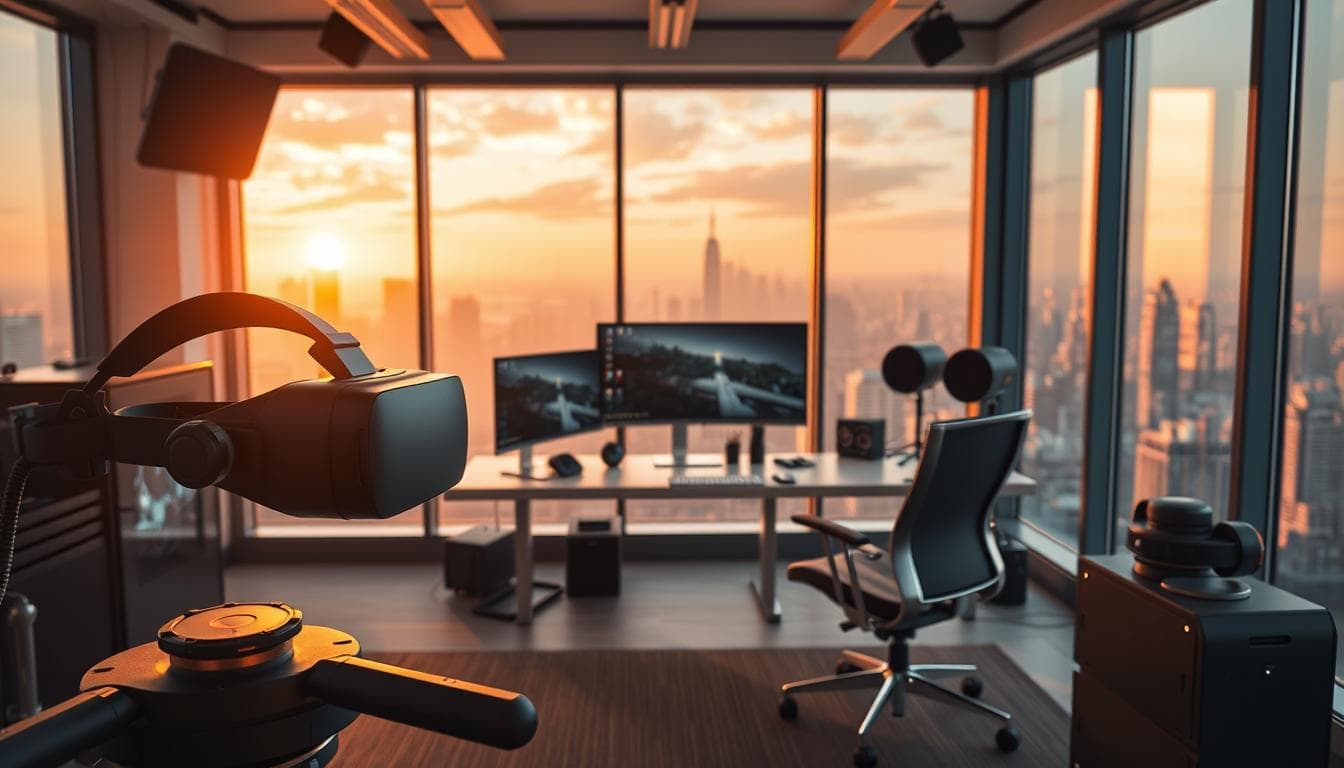
Tools, Software, and Hardware for VR Development
Choosing the right tools early reduces friction during production. Balance budget against the features you need: accessibility for learning versus performance for polished releases.

Choosing the Right Equipment and Software
Equipment costs vary by scope: entry-level 360 cameras can start near $450 while professional rigs approach $5,000, and common consumer headsets such as Meta Quest models retail in the $300–$500 range (see retailer listings for current prices). For software, free options exist that are fully capable for early projects.
Starter kit recommendation: Blender (free) + Unity Personal (free) + a $300 headset + a $100 lav mic. Why: Blender covers modeling and animation, Unity provides a cross-platform game engine for interactive content, an affordable headset lets you test scale and comfort, and a basic microphone improves spatial audio during testing.
Overview of Game Engines and 3D Modeling Tools
Game engines are the primary platforms for interactive development. Unity works well for cross-platform deployment (PC, mobile, web, and many headsets). Unreal Engine is the usual choice when top-tier graphics are the priority. For 3D asset creation, Blender is free and open-source (blender.org), while Maya and similar programs are common in studio pipelines when animation complexity requires them.
Version control and asset management tools help teams coordinate changes and avoid lost work; systems like Helix Core or Git LFS are common in VR studios to handle large binary files and many textures. Digital asset management programs and organized naming/versioning keep production moving when projects scale.
Designing Immersive VR Environments and Experiences
The architecture of a VR environment matters more than in flat media: small design mistakes become big usability problems once someone puts on a headset. Focus on three constraints—comfort, scale, and performance—when planning any scene.

Object scale is a frequent trap: what reads well on a monitor can feel wrong in three-dimensional space, so iteratively test objects and interactions in headset early and often.
Creating Interactive Versus Passive Content
Interactive experiences (users grab, move, or manipulate objects) require programming, physics tuning, and more testing. Passive experiences (360 video, photo tours) prioritize spatial storytelling and usually take less development time. For example, the British Museum’s 360° tours provide passive access to exhibits, while Osso VR offers interactive surgical training used by hospitals to practice procedures.
Design implication: interactive content typically supports stronger learning outcomes for procedural skills; a 2017 study in the Journal of Surgical Education found VR-trained residents performed procedures more accurately in some metrics than those trained conventionally (cite specific paper when publishing).
Texture and performance optimization are practical necessities. Combining many small textures into atlases and baking static lighting reduce draw calls and frame-time; Unity’s optimization docs recommend these steps to keep runtimes smooth on common headsets.
Industries adopt immersive training because repeated practice in simulated environments reduces real-world errors—manufacturing and healthcare programs report measurable decreases in on-the-job mistakes after VR training deployments.
Accessibility is another major benefit: environments let people with mobility limits explore worlds they otherwise couldn’t. Named examples include VR museum experiences used by organizations to expand reach for people who cannot travel.
Quick checklist for usable environments:
- Test scale in headset early.
- Create texture atlases and bake lighting where sensible.
- Use spatial audio cues to guide attention instead of HUD clutter.
Best Practices in Virtual Reality Content Creation
Treat version control and asset pipelines as core infrastructure rather than optional add-ons; they keep teams productive and projects deliverable as content grows.
Tools like Helix Core or Git LFS are commonly used to handle large binary assets, though full-scale solutions can carry hosting costs as projects expand—plan storage and backup into your budget.
Version Control and Asset Management
When multiple people contribute, manual file tracking breaks down. Use a version control system that supports large files and a digital asset management program to provide visual libraries and quick search, which saves hours compared with hunting through folders.
Small-team tip: start with Git LFS for binary support, then migrate to Helix Core or a hosted solution if you hit scale limits; document naming conventions and directory structure from day one to avoid merge chaos.

Optimizing Performance and User Engagement
Target the refresh rate recommended by your target headsets—many consumer headsets recommend 72–90Hz for comfortable experiences; for example, Meta’s developer documentation notes higher refresh rates improve comfort on Quest devices (see Meta developer docs).
Practical optimizations: reduce polygon counts on distant objects, atlas textures to cut draw calls, bake static lighting where possible, and profile frequently on the target headset to keep framerates steady. These steps improve presence and reduce motion-sickness risk.
Realistic object scale and good spatial audio are essential for presence—users notice scale mismatches immediately, and audio cues guide attention more naturally than HUD elements.
Generative AI is starting to automate parts of the content creation process (auto-generating textures or placeholder assets), but it introduces new QA steps and may not match studio-grade animation needs yet.
Quick wins checklist:
- Reduce poly counts on non-essential objects.
- Pack textures into atlases and compress appropriately.
- Bake lighting for static geometry and reserve realtime lights for dynamic elements.
- Test on the actual headset early and often to validate comfort and scale.
Training and simulation projects benefit from these practices: better performance and clear interactions help learners acquire skills faster and with fewer errors during real-world application.
Conclusion
Recommendation: pick one format (360 video or interactive 3D), learn one engine or tool deeply (Unity or Blender), and ship a single polished project within 30–60 days to prove the core skills that employers and clients value.
Next step: download Blender or Unity and follow a beginner tutorial that ends with a working scene—this small project converts knowledge into demonstrable experience and prepares you for scalable training or commercial work.
Focus on consistent practice, prioritize performance and user comfort, and iterate on real headset tests to turn early experiments into reliable content creation skills.